Google’s latest Pixel 9 series is an excellent range of smartphones – the company’s best phones to date, if their record-breaking sales figures are anything to go by.
If you happen to be the owner of a shiny new member of the Pixel 9 family, there’s every chance you’re looking for ways to get the most out of it beyond the already excellent out-of-box experience. If so, you’ve come to the right place.
Google has done a great job of refining its clean and unique take on Android, and the setup process of today’s Pixels is better than it’s ever been. But just because these phones come with a robust ‘Tips’ app, there are more features and functions to uncover, especially since the line was updated to Android 15.
Below you’ll find a run of nine tips and hidden features worth trying, and all should be accessible to any member of the Pixel 9 series (that’s the Pixel 9, Pixel 9 Pro, Pixel 9 Pro XL and Pixel 9 Pro Fold). Just make sure your device has the latest OS updates installed, to guarantee you have access to all the features mentioned.
Maximise display resolution
Google has put a lot of effort into giving its latest Pixels excellent screens. The ‘Actua’ displays introduced with the Pixel 8 and 8 Pro series were a nice step up from those used by older entries in the series, while the panels used across the Pixel 9 line are Google’s best yet.
Foundry | Alex Walker-Todd
Be that as it may, there’s a chance you’re not getting the most out of the screen on your Pixel 9, because you’re likely not viewing things at full resolution.
By default, the Pixel 9 series comes with its displays set to ‘High resolution’. For example, the Pixel 9 Pro XL sports a resolution of 1008 x 2244 (equivalent to about 362 pixels per inch, based on the phone’s 6.8-inch display) out-the-box, but that’s with the display set to ‘High resolution’. Set the phone to ‘Full resolution’ and you’re then viewing everything at a significantly sharper 1344 x 2992 (approximately 482ppi).
HOW? Open your Pixel’s Settings app, head to Display & touch, scroll down to the bottom to find Screen resolution and then switch from High resolution to Full resolution.
Circle to Search for songs
Now Playing has been a neat feature on Pixel phones since 2017’s Google Pixel 2, able to automatically recognise music playing within range of your phone’s microphones, showing the track and artist in question on-screen automatically.
Foundry | Alex Walker-Todd
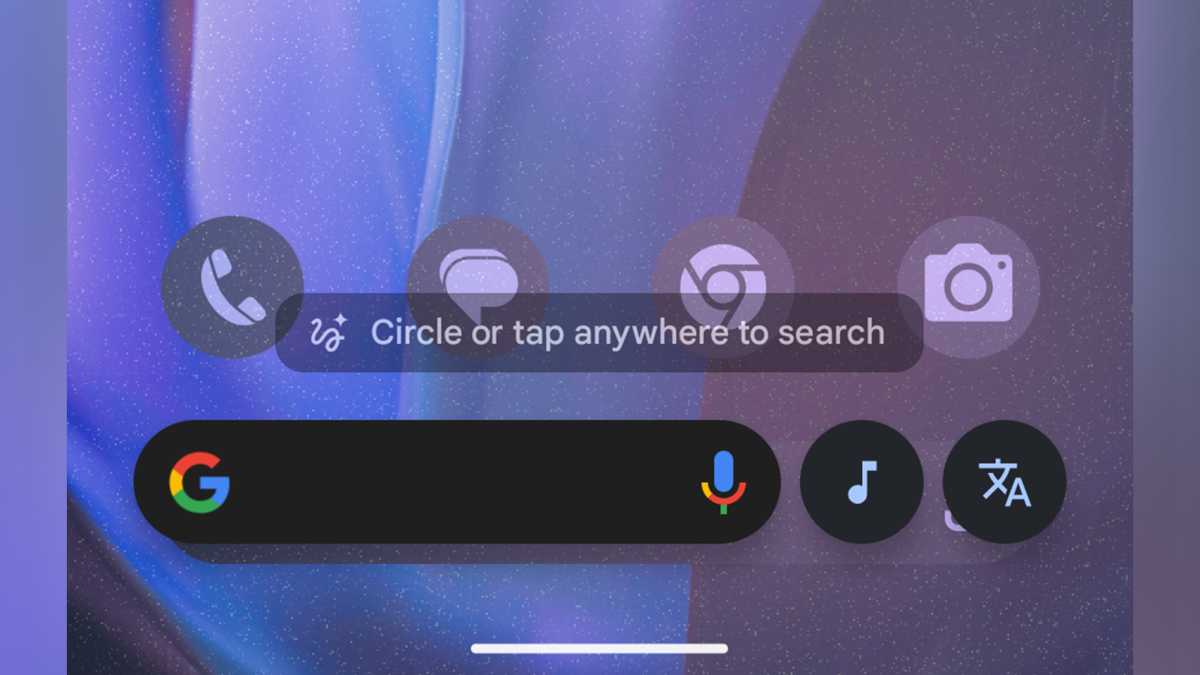
While Now Playing hasn’t gone away, it’s a passive feature. Sometimes you want to actively ask your phone to try and identify a tune. While Circle to Search arrived in the first half of 2024, one extension of the feature which comes as part of Android 15 is song recognition.
HOW? Long-press on the bottom of your screen (if you use gesture-based navigation) or the home button (if you use button navigation) to activate the Circle to Search interface. Next, tap the musical note icon which appears at the bottom of the screen. Finally hold you Pixel near the sound of the music you’re trying to identify (or hum or sing the song yourself) and if all goes to plan, you’ll be presented with a results card, complete with track information and playback options.
Note: Unlike Now Playing, these results aren’t logged in your phone’s Now Playing history, as this is classed as a separate music identification feature.
App Archiving
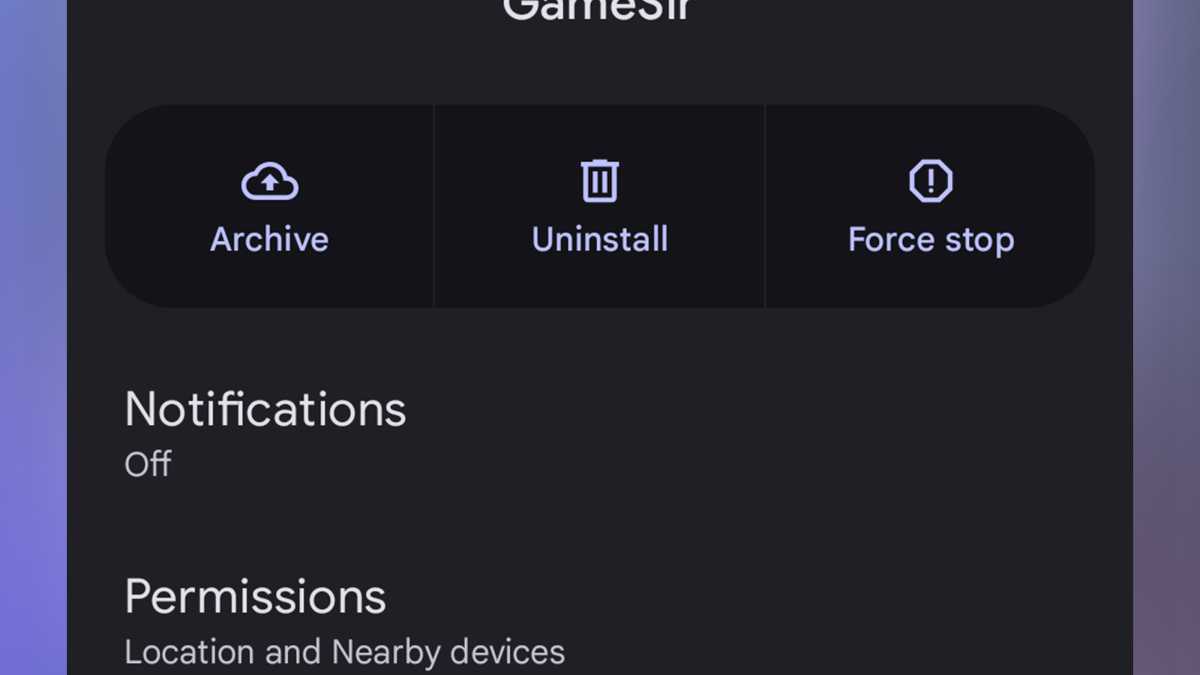
Another nice addition to Android 15 is App Archiving. Previously only accessible as a beta feature, App Archiving lets you uninstall an app from your phone, while retaining elements like user data, so that if you want to reinstall it at a later date, you can do so without having to re-login or risk losing app-specific files.
Archiving an app is a great way to save space, with archived apps being at least 60% smaller than a fully installed application.
Foundry | Alex Walker-Todd
HOW? You can either long-press on an app icon on your device, select App info and then tap Archive or open the Settings app, open the Apps sub-menu, select a given app and then, once again, tap Archive.
Note: When you want to Restore an archived app, simply tap the app icon (which will have a cloud with a downward arrow inside of it overlaid on top) and, provided you have an active internet connection, the app should re-download and once again behave just as it did before being archived.
Theft Protection
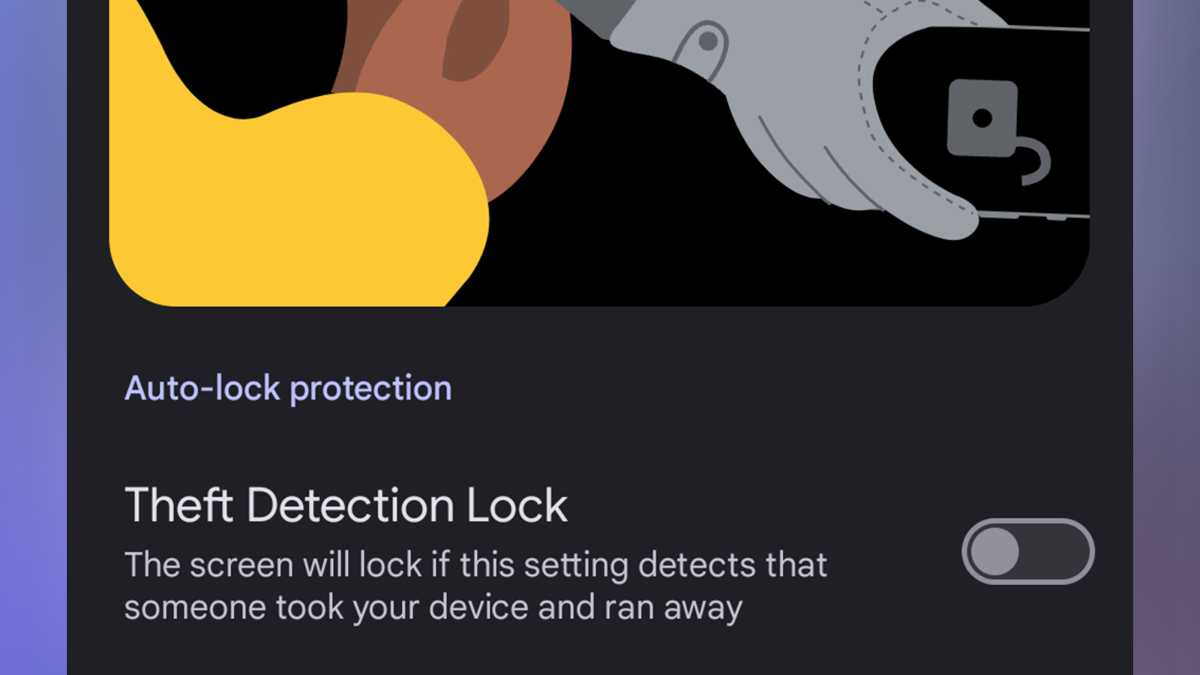
Available with Android 15, Theft Protection is a suite of features to lock your device down if it’s stolen. Theft Detection Lock secures your device in the event it’s snatched out of your hands and carried away quickly. Offline Device Lock will lock your screen shortly after your device detects that it’s without any sort of connectivity (cellular, WiFi etc.).
Foundry | Alex Walker-Todd
So long as you have an active SIM in your phone, enabling Remote Lock lets you lock your device, just by inputting your phone number into Google Find My Device. You can unlock it when you have your device in hand again, as usual.
Like Remote Lock, enabling Find My Device lets you see the status and location of your stolen device via the Find My Device app on another phone or by going to the Find My Device web portal (Remote Lock is also available from this interface).
HOW? Open your Pixel’s Settings app, head to Security & privacy, tap on Device unlock, select Theft protection and then toggle on the features you want, as desired.
Private space
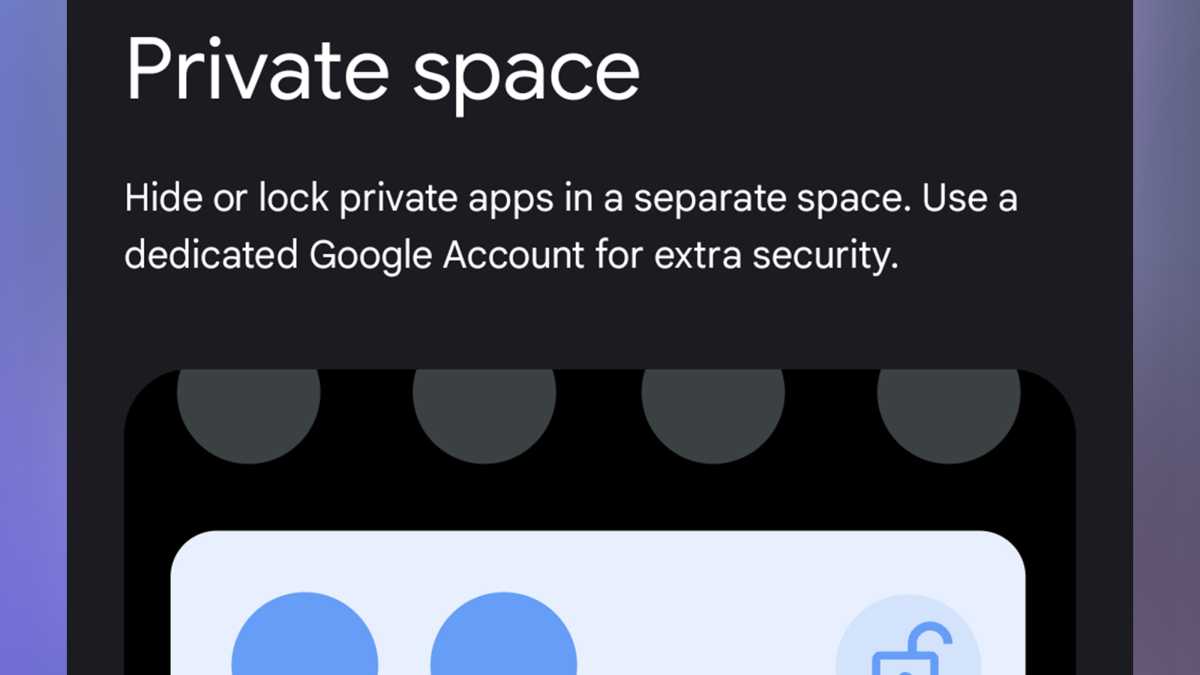
For those times when you hand your phone to others, Private space adds peace of mind by letting you lock apps away in a separate section of your device’s user experience, behind its own password protection.
If you want, you can even tie the apps and experiences held within Private space to a separate Google account, to ensure no synchronised files appear within apps or anywhere else outside of this secure offshoot of your Pixel’s user experience.
Foundry | Alex Walker-Todd
This is ideal if you deal in sensitive information, or you hand your phone off to your child to watch videos or play games and don’t want them accidentally opening up your banking apps and the like.
When locked, notifications from apps within Private space don’t appear anywhere on-device and you have the option to either access the experience from the bottom of your phone’s apps drawer or hide the shortcut completely, only having it show up by searching for ‘Private space’ within the apps drawer search bar. You can also use the same password protection you use to unlock your Pixel or create a separate passcode or pattern.
HOW? Open your Pixel’s Settings app, head to Security & privacy, tap on Private space, authenticate your device with your pattern, PIN or biometrics, tap the Set up button in the bottom right, choose whether to add a separate Google account, choose whether to add a separate passcode for Private space, and then tap Done. Private space will then appear at the bottom of your app drawer by default.
Note: If you no longer wish to use Private space, you’ll have to input your passcode to remove it. Apps that need to run in the background also aren’t well suited to the locked-down nature of Private space.
Save app pairs
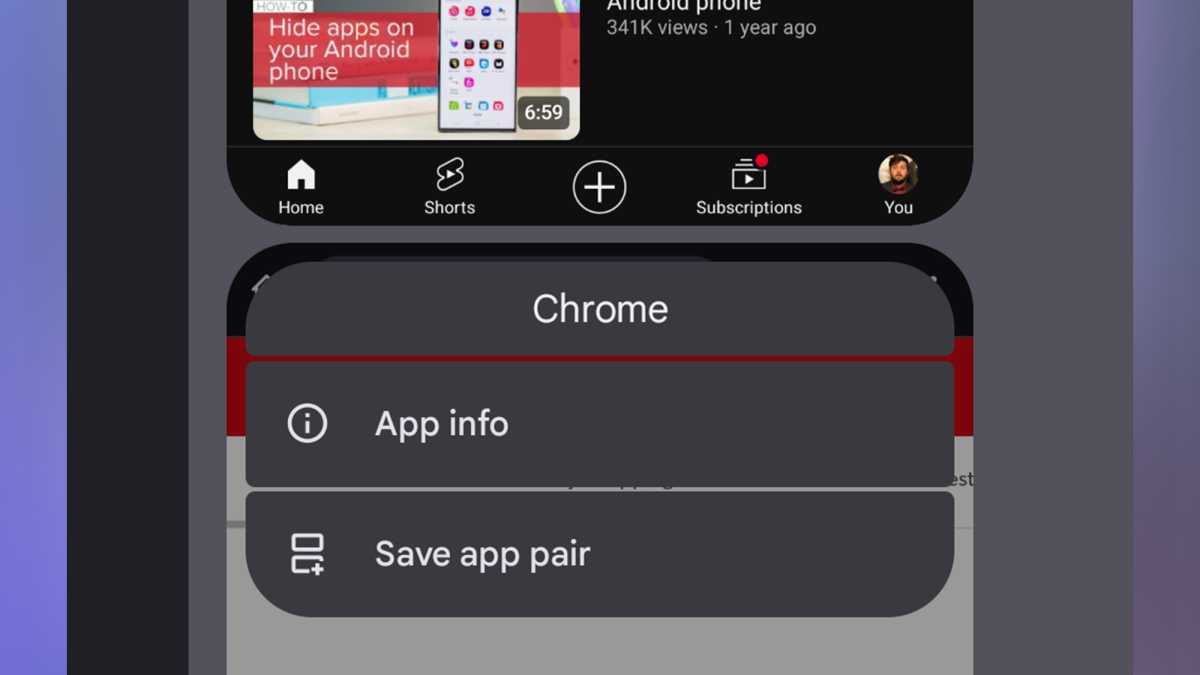
Although this functionality has been available on tablets from other manufacturers for years, Android 15 finally lets you natively save app pairs on your Pixel phone’s home screen for easy access. App pairs are two apps set in split-screen (on a phone in portrait, that means one on top and one on the bottom).
Android has let you use multiple apps in split-screen simultaneously for a while, but the ability to save those pairings (like YouTube and Chrome, for example) to your home screen, is new to Android 15.
Foundry | Alex Walker-Todd
HOW? Make a split-screen app pairing as you usually would, by swiping up and holding (if you use gesture navigation) / tapping the square multitasking key at the bottom of the screen (if you use button navigation) whilst in the app that you want to appear at the top of the app pair. Then, while in the multitasking view, tap the app icon above the app you currently have open and select Split screen from the menu that appears. Next, select the other app you want to complete the app pair (this will occupy the lower half of the screen).
Once you’ve set up two apps in split-screen, switch to the multitasking view again and tap on the two app icons side by side near the top of the screen, then tap the new Save app pair option that appears on the menu which pops up. Your newly created app pair will then appear on your home screen, just like any other app icon.
Note: If you change where the split line is between the two apps (by default each app occupies 50% of the screen) and then save the app pair, it will retain the location of the split.
Access notification history
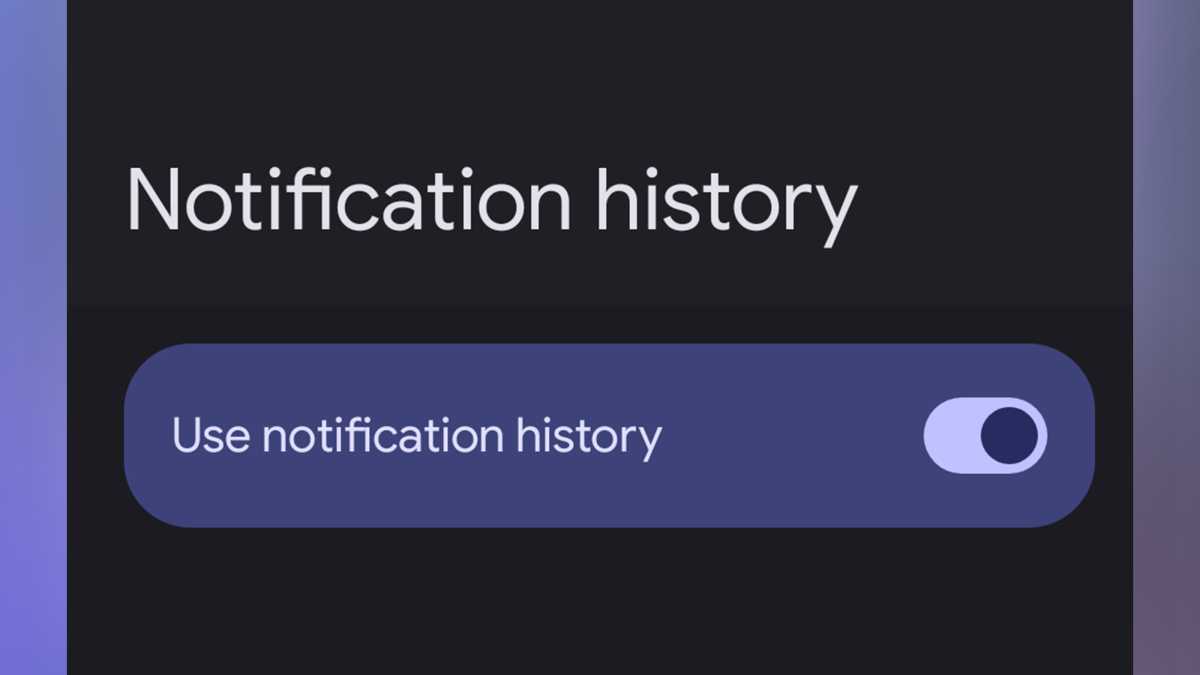
Whether you view notifications as a necessary evil or just feel like you miss too many of them on a daily basis, you now have the option to access a timeline of the last 24 hours of notifications to hit your phone. This gives you more time to circle back around to missed notifications, even if you snoozed or dismissed them in the moment.
Foundry | Alex Walker-Todd
HOW? Open the Settings app, tap on Notifications, and turn the Use notification history toggle on. You won’t initially see any notifications in the Notifications history as it only starts logging your device’s notifications once the feature has been enabled.
Note: Once enabled, you can access notification history by either tapping the History button at the bottom of the notifications shade or heading back in the Notifications sub-menu within the Settings app.
Add MagSafe
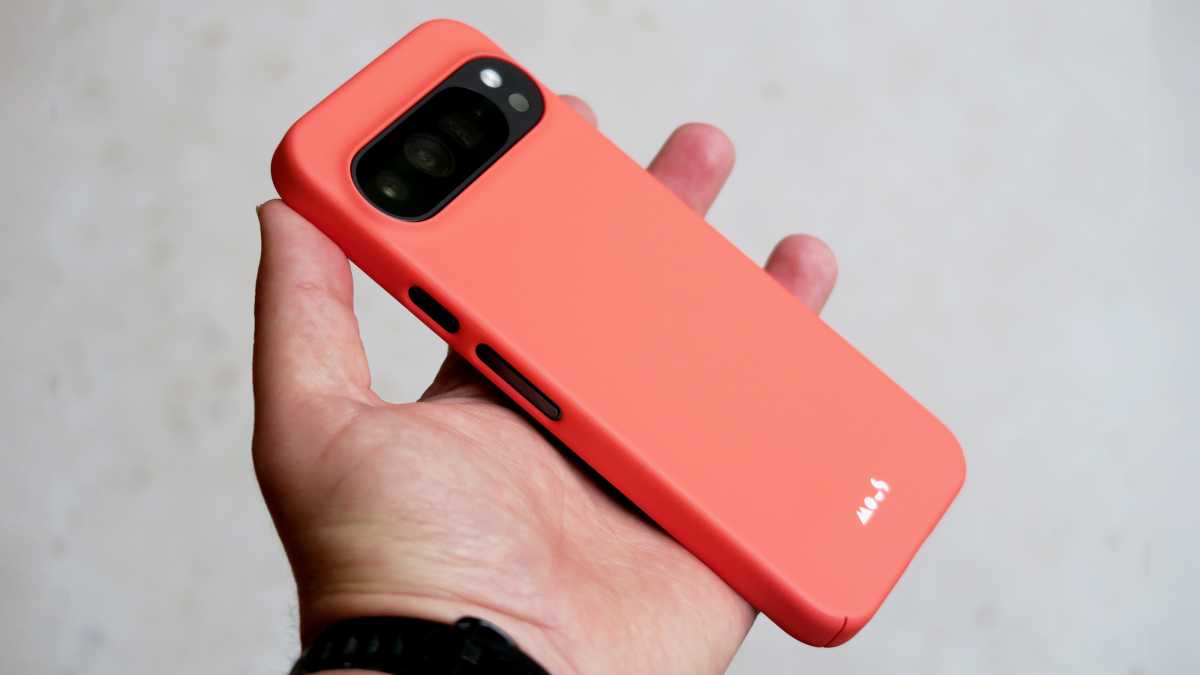
While Apple may have cornered the market with its ecosystem of magnetically interchangeable accessories – from power banks to wallets, car mounts and selfie sticks – although the Pixel 9 series lacks any integrated magnets of its own, third-party case makers do offer MagSafe-compatible cases for Google’s hottest smartphones (among others).
Naturally, this makes your Pixel 9 a far more versatile device than it would otherwise be, in terms of accessory compatibility.
Foundry | Alex Walker-Todd
HOW? Find a good MagSafe-compatible case. Our money’s on Mous’ Super Thin MagSafe Compatible case series (pictured above on the Pixel 9 Pro XL in Hot Coral) but there are a wealth of offerings from reputable accessory makers, like Case-Mate, Dbrand, Ghostek, Quad Lock, Spigen and UAG to consider too.
Note: Check out our How to add MagSafe and Qi2 to Android phones feature for more.
Snappier visuals
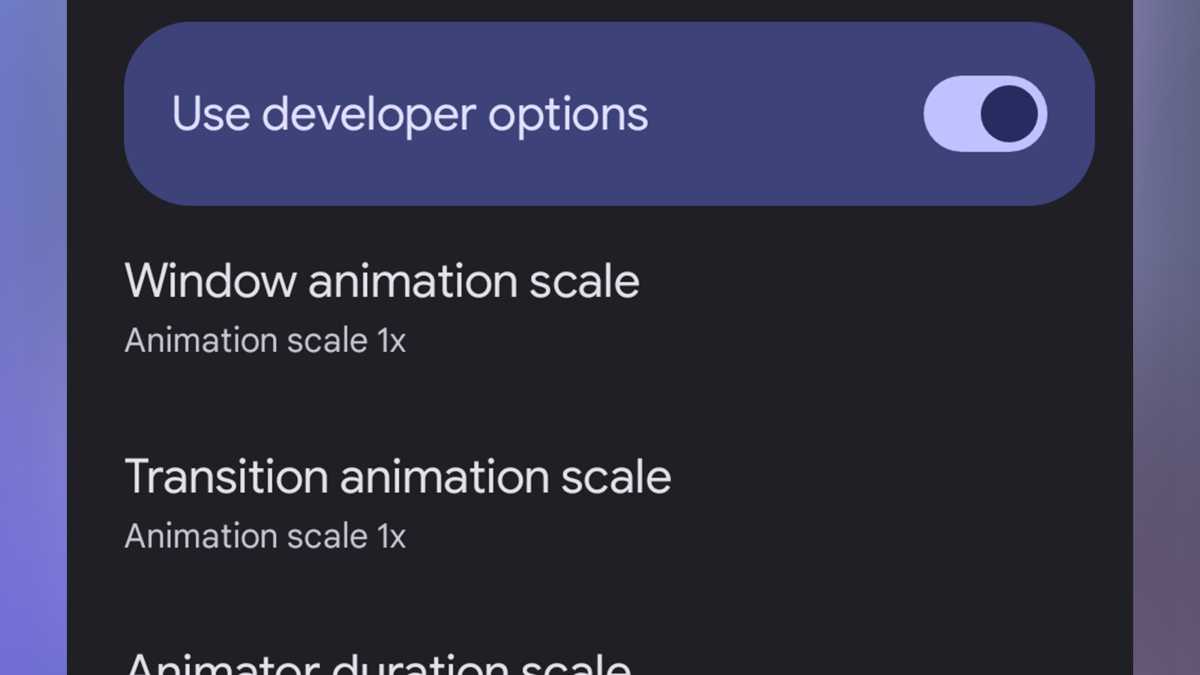
If you’re willing to tinker around behind the scenes there are a wealth of additional tweaks that let you customise the user experience on your Pixel even further. Dive into developer options and you’ll find options to double the speed of system animations like opening and closing apps, which makes the Pixel feel even more premium and powerful.
Foundry | Alex Walker-Todd
HOW? You need to enable Developer options first by opening the Settings app, scrolling down and opening the About phone section near the bottom. Scroll down to the bottom again to find the Build number and tap it seven times, then enter your PIN or passcode.
Once enabled, navigate back out of the About Phone section and enter the System section of the Settings app, then scroll down to the newly unlocked Developer options menu.
Scroll down to the Drawing section of the Developer options menu and set the Animation scale to 0.5x across the Window animation scale, Transition animation scale and Animator duration scale option. Now you Pixel should feel twice as snappy as before.
Note: Make sure you understand the effect of changing settings within Developer options before changing them. Disabling Developer options after making any changes will restore things to their default state and require a device restart (not to be confused with a reset – you won’t lose any data when restarting your Pixel).
Read the full article here


