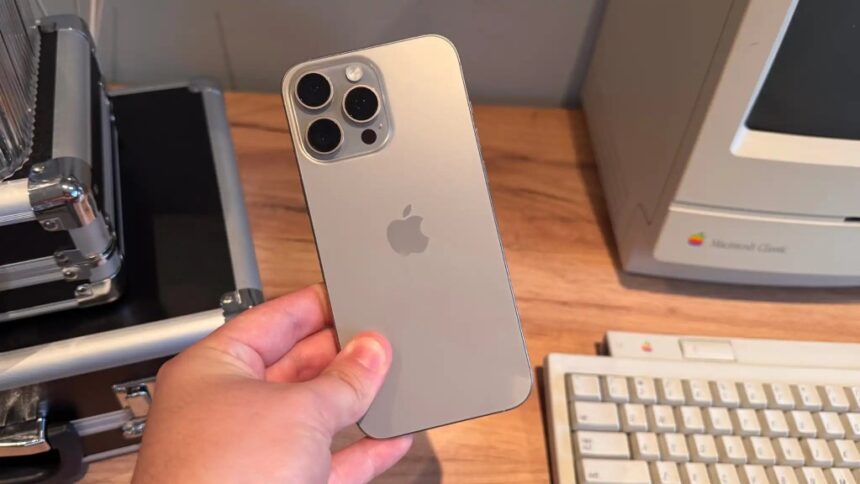
Getting a new iPhone or iPad is always exciting. With the latest iOS 18, setting up your device is easier than ever.
Here’s a step-by-step guide to help you get started and customise your device to suit your needs.
How to set up a new iPhone or iPad
Power on your iPhone or iPad
To start, press and hold the power button on your iPhone or iPad (typically located on the right side or top of the device) until the Apple logo appears.
Choose your language
The screen will then display ‘Hello’ in several languages. Swipe up to choose your language and region.
Adjust text and icon sizes
Next, you’ll have the option to personalise the size of text and icons on your device. Choose from ‘Default’, ‘Medium’, or ‘Large’, and use the slider to preview each size.
Once you’ve found a setting you’re comfortable with, tap ‘Continue’ to move forward.
Choose Quick Start or manual setup
If you own another Apple device, you can speed up the setup process using ‘Quick Start’. This allows you to transfer settings and data wirelessly from your old iPhone or iPad to the new one.
To begin, simply place the two devices near each other and follow the instructions being displayed on each device.
If you don’t have another device, select ‘Set Up Without Another Device’. For the rest of the steps here, we’ll assume that’s the case.
Choose a Wi-Fi Network
Select who the device is for
Decide if you’re setting up the device for yourself or a child. If it’s for a child under 13, you can create a new Apple ID for them, set up Family Sharing, and activate parental controls to manage their usage effectively.
Set Up Face ID or Touch ID and create a passcode
To enhance security, set up Face ID (iPhone X and newer) or Touch ID (iPhone 8 and older), allowing you to unlock your device and make secure purchases using facial recognition or fingerprints.
In the case of Face ID, you can additionally choose whether you want it to work while you wear a face mask or not.
After this, create a six-digit passcode. If you prefer a four-digit code, a custom passcode, or no passcode at all, tap ‘Passcode Options’ to adjust your preferences.
Transfer your data
You can now decide how to transfer your data and apps to your new device. Options include restoring ‘From iCloud Backup,’ ‘From Another iPhone,’ ‘From Mac or PC,’ and ‘From Android.’
For the latter, follow our guide on how to move from Android to iPhone. If you prefer to start fresh, select ‘Don’t Transfer Anything’ and follow the next step.
Sign in with your Apple ID
Sign in with your Apple ID by entering your email address or phone number and password. For users with multiple Apple IDs, you can add additional accounts by selecting ‘Use Multiple Accounts.’
If you don’t have an Apple ID or can’t remember your login details, you can create a new account or recover your password by tapping on ‘Forgot password or don’t have an Apple ID?’
Then, if it’s your first time, you can choose to ‘Create a Free Apple ID.’ Simply follow the on-screen instructions to create it.
Configure updates and key features
Enable automatic updates and ‘Location Services’ to keep your iPhone or iPad running smoothly.
You can also setup your cellular here. If you’ve bought the iPhone or iPad with a carrier attached, this will be set up automatically.
Next, you can add your credit or debit cards to Apple Pay so you can pay with your phone in stores using NFC. You’ll also be prompted to set up Siri, which may require you to speak a few phrases to personalise the assistant to your voice.
Set up ‘Screen Time’ to monitor device usage and, if needed, apply limits on app usage. You’ll also be asked whether to share data with Apple and developers to help improve features and services.
Finally, select your preferred appearance mode and ‘Emergency SOS’ if you own an iPhone 14 or newer.
Welcome to iPhone or iPad
Once you’ve completed the steps above, swipe up to finish setting up your device. Your iPhone or iPad is now ready to use.
That’s the basics done, but if you want more, here’s how to set a song as your iPhone ringtone. Also, if you ever lose your iPhone or iPad, here’s how to use Find My iPhone.
Read the full article here


